Guides
Floating Shelves: How to Install a Shelf for Books on a Wall
Hanging shelves on a wall is a DIY project that, with the right tools and a little bit of planning, results in stylish ‘floating’ storage. Here’s how to get the look.
What You’ll Need:
- Stud finder
- Drill
- Level
- Two brackets
- Measuring tape
- Pencil
- Shelf
- Find the studs in your wall. Finding the studs, or the ‘safe’ places to drill, can easily be done with a stud finder (available at hardware stores.) Mark with a pencil the two stud spots where you plan to hang each end of the shelf. (Use a level to establish that it is a straight line.)
- Drill a hole into each pencil mark. Start by measuring the length of the bracket, and then drill only that amount. With standard brackets, a .5” drill bit is all that is needed.
- Fit one bracket into each hole. Turn it as you push it in, until it is tightly screwed in.
- Measure the distance between the two brackets. Then, on the shelf, mark with a pencil the beginning and end points of this length. If the shelf is shorter than the distance measured, the process won’t work, so make sure to the shelf you plan on hanging is long enough for your wall’s studs before you buy it!
- Drill one hole into each of the pencil marks on the shelf, and fit the shelf into the brackets. If the holes are too shallow, drill a few centimeters more until you get the right fit. (It may help to measure how far out the brackets jut out, and then make a mark on the drill to signify where that measurement stops.)
Featured Products
— More Great Articles —
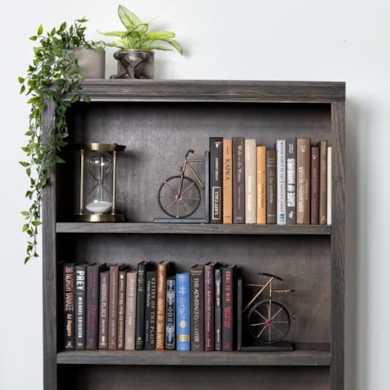
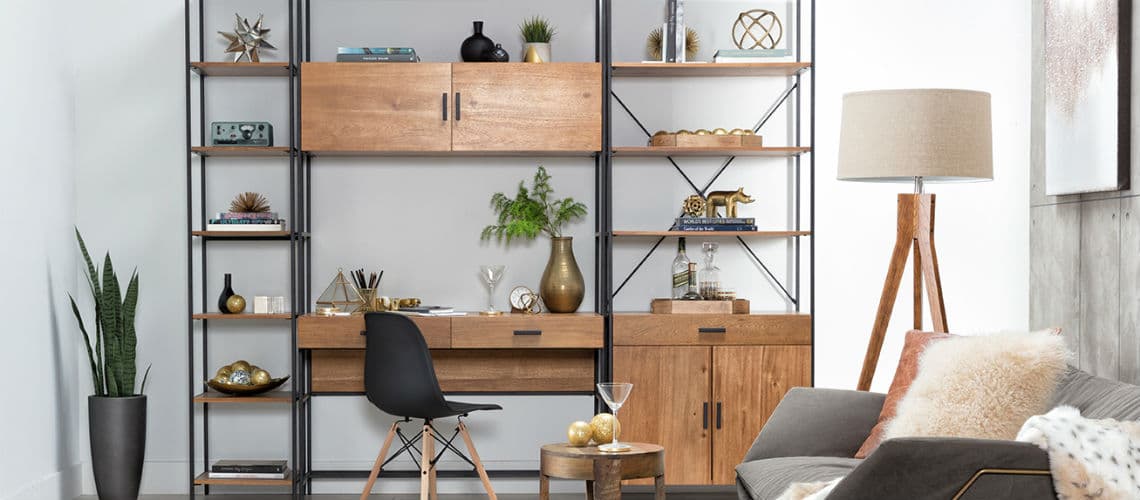
Shop Floating Shelves
Read the Latest
Editorial Disclaimer: Articles featuring tips and advice are intended for educational purposes and only as general recommendations. Always practice personal discretion when using and caring for furniture, decor and related items.

