How Tos
How to Hang Heavy Pictures
Are you planning to hang some wall art? You’ll need a strategy, if you’re going to hang heavy wall art, as it can pull regular nails out of the wall.
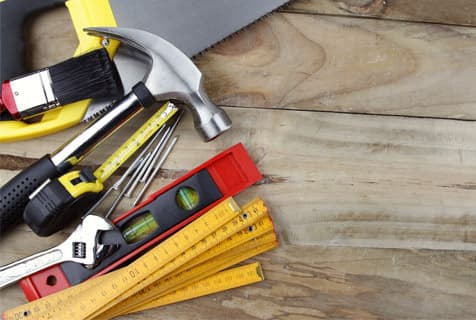
Step 1: Use the Right Tools
Standard nails won’t cut it when it comes to holding up heavy wall art, so before you begin, make sure you have the right tools. For art that is between 5-20 lbs, you can use drywall anchors, but if you have a heavier piece, use a metal wall anchor. Anything over 50 lbs will require a rail cable. If you are hanging on a stud, look for threaded screws that you can screw right into the stud. You also need a level and a hammer to make sure your wall art is straight.
Step 2: Find the Right Place to Hang
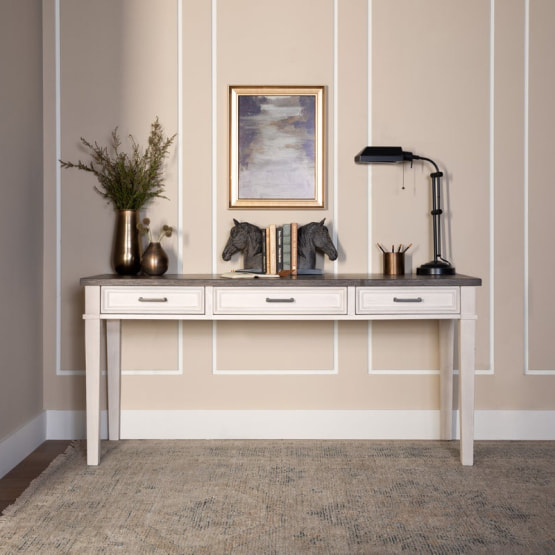
Ideally, if your art is over 25 lbs, you will hang it on a wall stud. A stud finder can help you locate the right spot. Anything lighter can be hung on anchors. If you can’t use a wall stud for heavier pieces, be sure to add at least one anchor for every six inches. You can make sure your art is in the right location from an aesthetic perspective by cutting a piece of cardboard to the same size and using tape to stick it where you want to hang the painting.
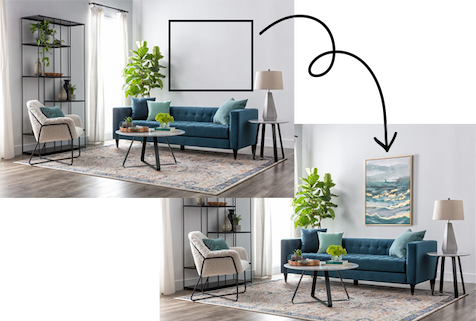
Adjust until you have the right positioning, then start installing the hardware!


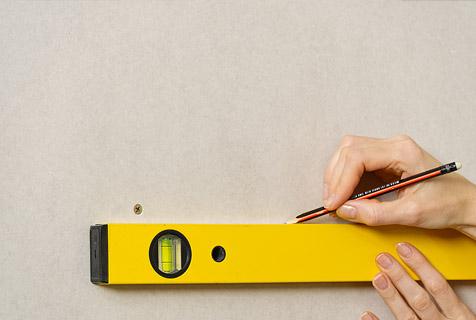
Step 3: Measure Carefully
When dealing with heavy wall art, you don’t want to make a wrong hole, or you could end up ripping out drywall. This means you need to measure carefully and place your anchors in the right place. As previously mentioned, larger pieces will need extra anchors to hold them up safely. Alternatively, you can use a hanging rail cable, which can hold multiple pieces of art. Again, measuring is essential.
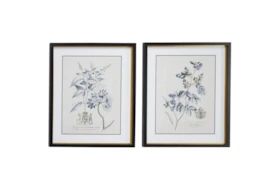
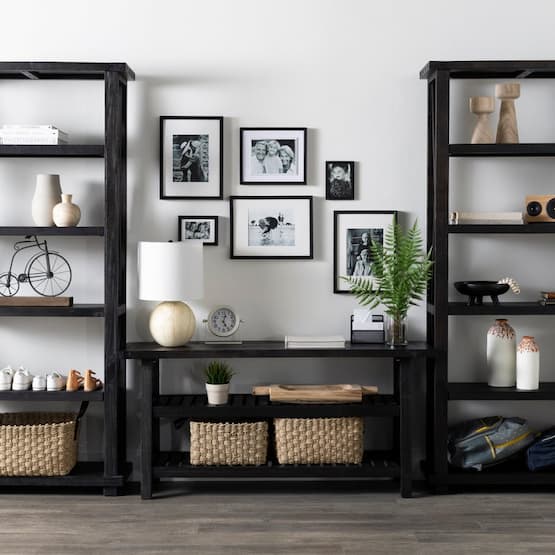
Make sure to measure between art if you will be placing more than one piece. There’s nothing more irritating than a row of paintings that aren’t properly distanced. Poor placement distracts from the art, so pay attention to this step.


Step 4: Hang the Art
Now that you have everything marked out, place your anchors to provide sturdy support. If using a stud, you’ll need to screw in the screws, which is best done with an electric screwdriver or drill. You can hang the art and have someone else stand back to ensure the piece is straight. If you don’t have anyone available to assist, or you are a stickler for details, use a level to determine how straight the piece is and make any necessary adjustments.


Step 5: Enjoy Your Wall Art
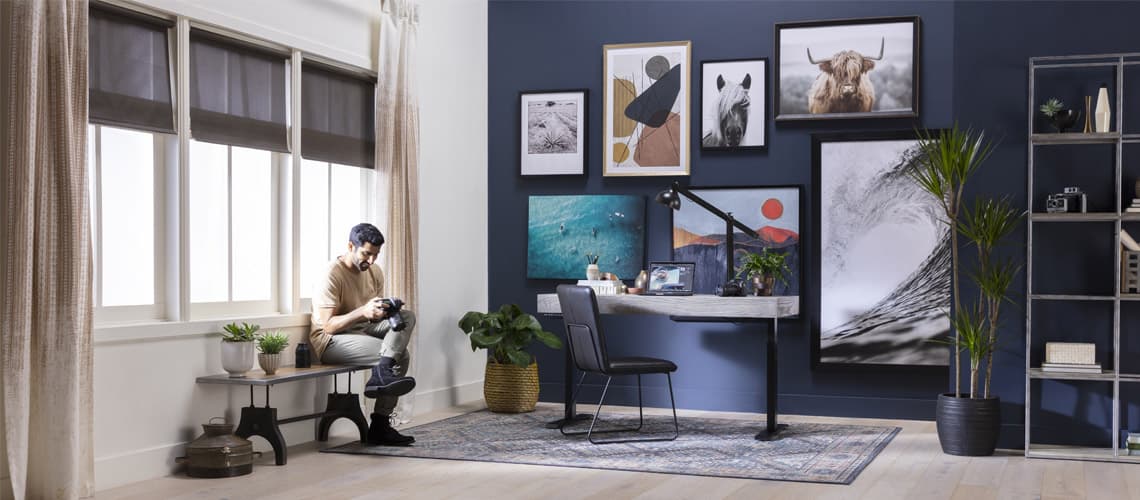
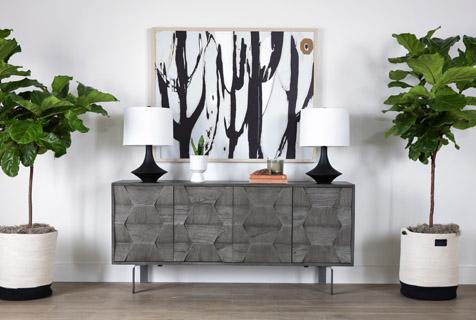
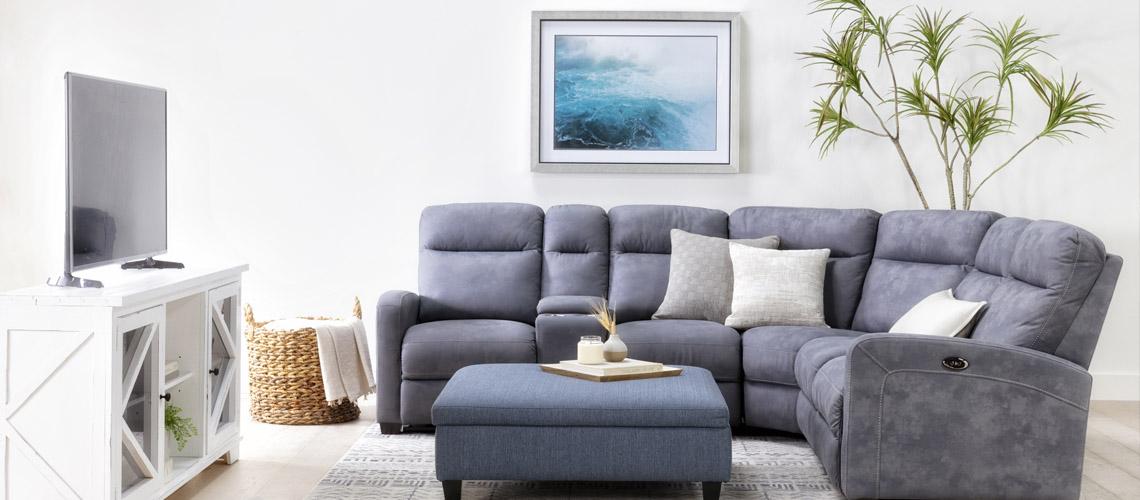
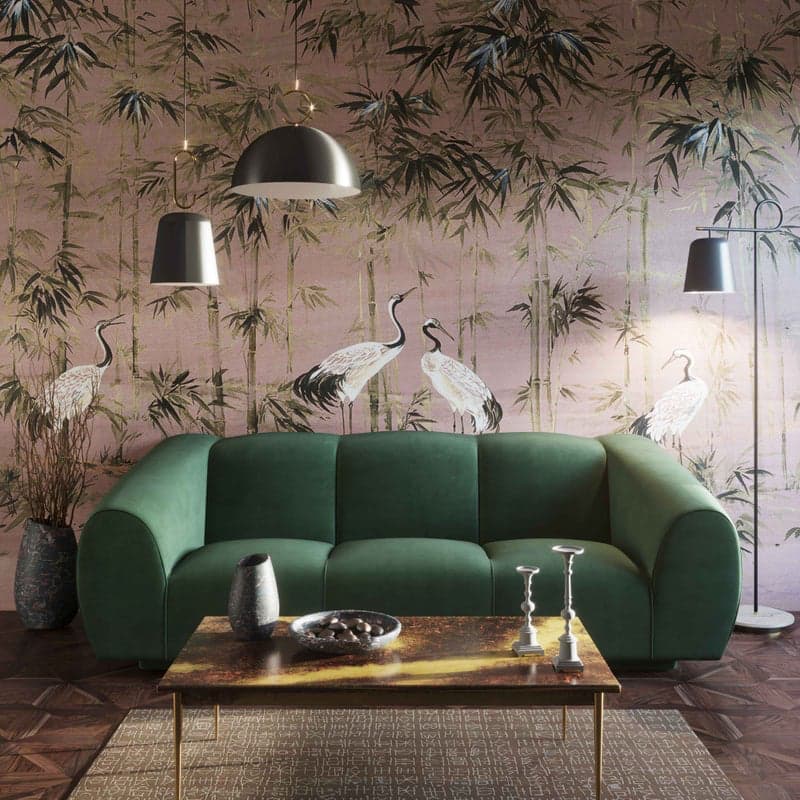
With everything up on the wall, you can put your furniture back into place, add a few throw pillows that pick up on colors in the art, and enjoy the beauty you’ve added to your walls.
It’s a good idea to check the anchors from time to time to be sure they are still secure, particularly if something knocks against the art. If it’s properly installed, your art will be secure for decades.


— More Great Articles —
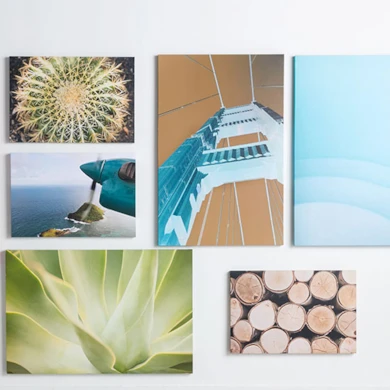

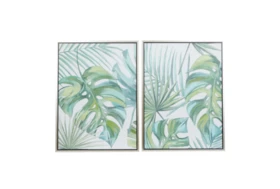
Light & Heavy Wall Art
Read the Latest

Editorial Disclaimer: Articles featuring tips and advice are intended for educational purposes and only as general recommendations. Always practice personal discretion when using and caring for furniture, decor and related items.

